AI Sprite Gen

Free local utility · Updated August 27, 2026

Sprite QA Lab and Game Engine Workflow

A generated image is not automatically ready for a game. Use this lab to verify the actual file: dimensions, transparent pixels, grid math, frame order, animation speed, and engine import settings. Processing happens entirely in your browser.

Sprite QA Lab

Inspect dimensions, alpha, slicing, and animation before import.

Local-only: your image stays in this browser and is never uploaded.

enemy-slime.jpg (raw sample)Frame 1/1
Image size
Reading…
Transparency
Reading…
Grid does not divide evenly. Choose columns and rows that divide 0 × 0 without a remainder.

What this generator actually does

This section documents the production path used by the tools on this site. It is here so you can judge the outputs using the right expectations instead of relying on vague “game-ready” claims.

1. Source generation

At the time of this update, requests use MiniMax image-01-live. The selected style and target size are added as prompt guidance. The model creates a square source image; the size selector is not a promise that the model drew on an exact 32 × 32 or 64 × 64 grid.
2. Browser export

The browser downsizes the source to your selected 32, 64, 128, or 256px target with smoothing disabled. A border-connected flood fill then attempts to turn a plain background into alpha before exporting PNG.

3. Four-frame sheets

The first frame becomes a character reference for three additional generations. The browser processes each frame, then stitches them into either a 2 × 2 sheet or a 4 × 1 strip. These are four separate generations, not one image merely labeled “sprite sheet.”

4. Known limits

Poses, proportions, colors, and contact points can drift between frames. Background removal works best when the subject does not touch the edge and the background is flat. Always inspect a sheet at its final pixel size before shipping it.

Selected outputs, prompts, and QA notes

These are selected raw JPG outputs from this site's gallery, not a random or statistically representative sample. The exact prompt is shown for each file, along with a concrete limitation we found. You can download the originals and run them through the lab above.

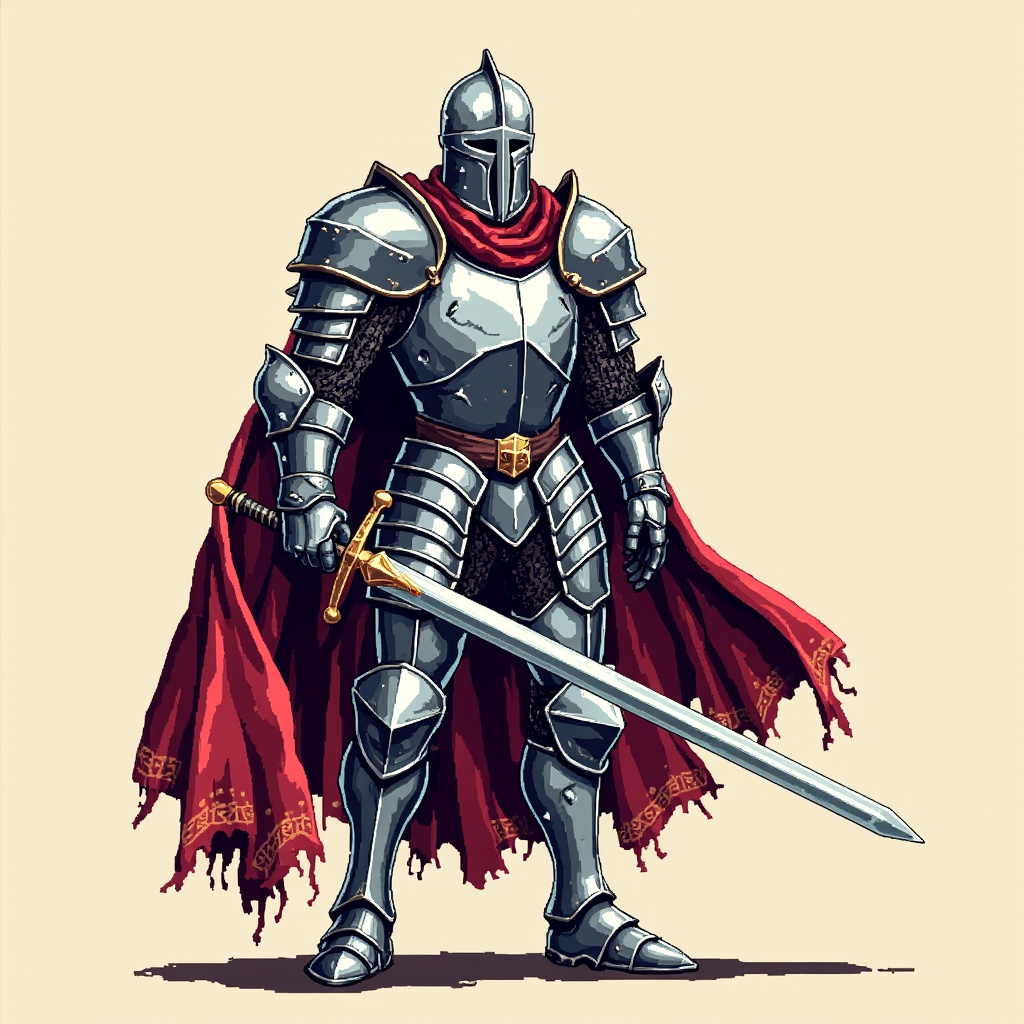
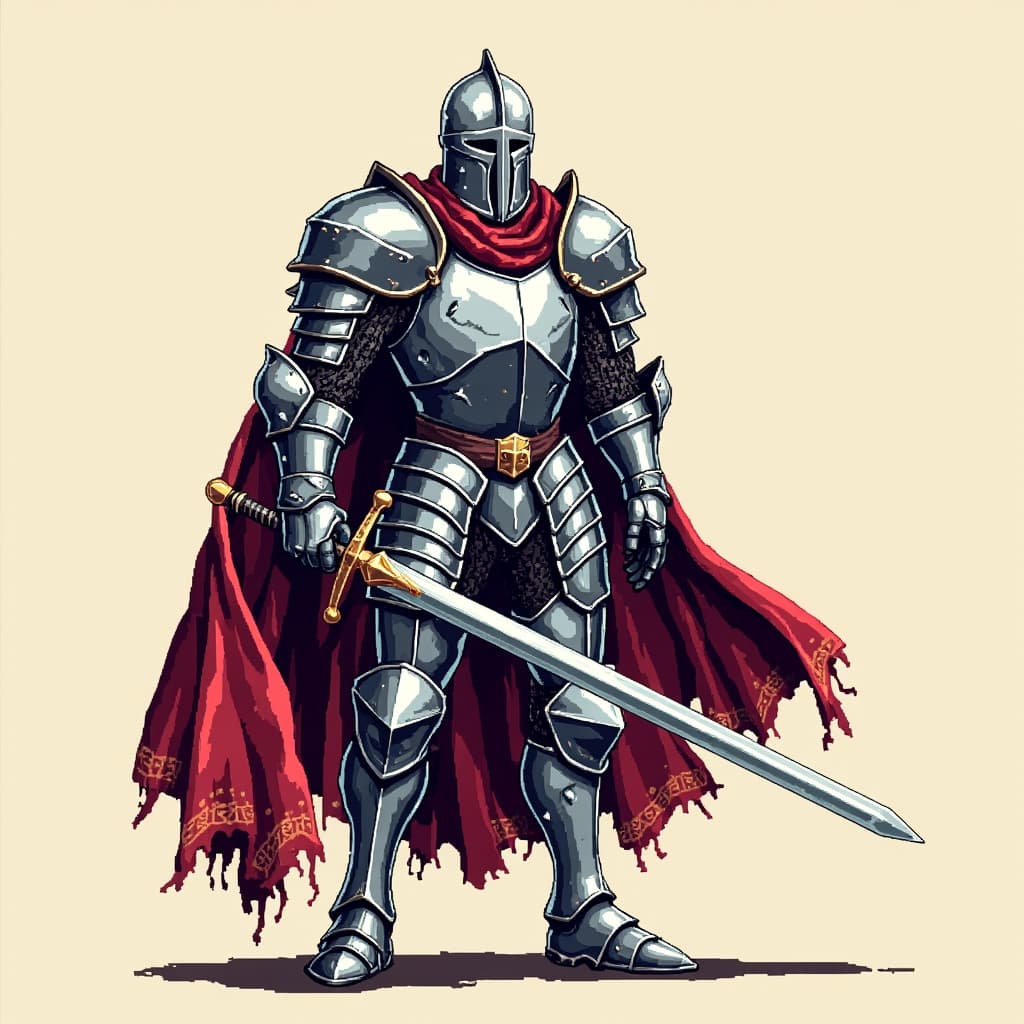
Selected raw AI output of a knight in silver armor

Exact prompt

Brave knight in shining silver armor with sword and red cape, side view

What we found

The silhouette is readable, but the result is painterly rather than strict low-resolution pixel art. It works better as a concept draft than a final 32px character.

Next check

Regenerate with a simpler silhouette and fewer materials, then inspect at the final export size before using it in a game.

Download raw sample →
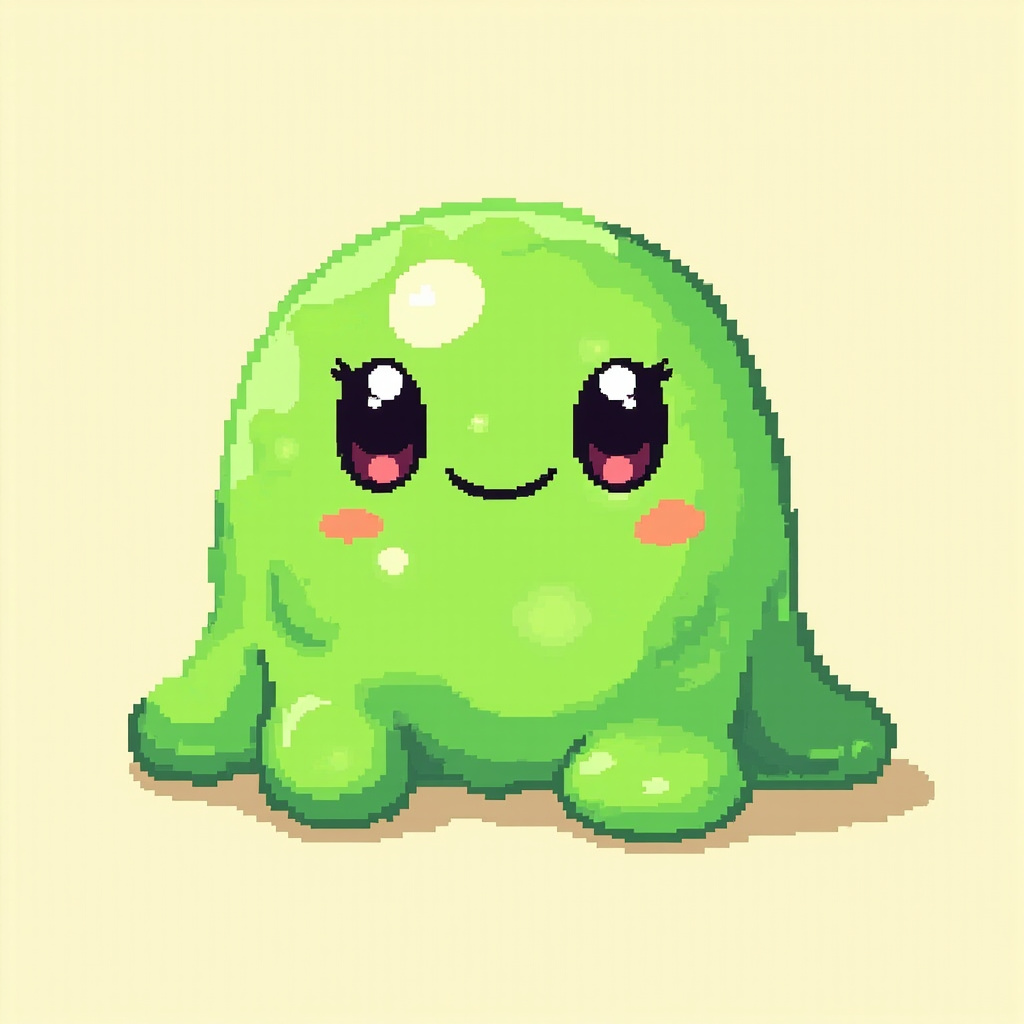
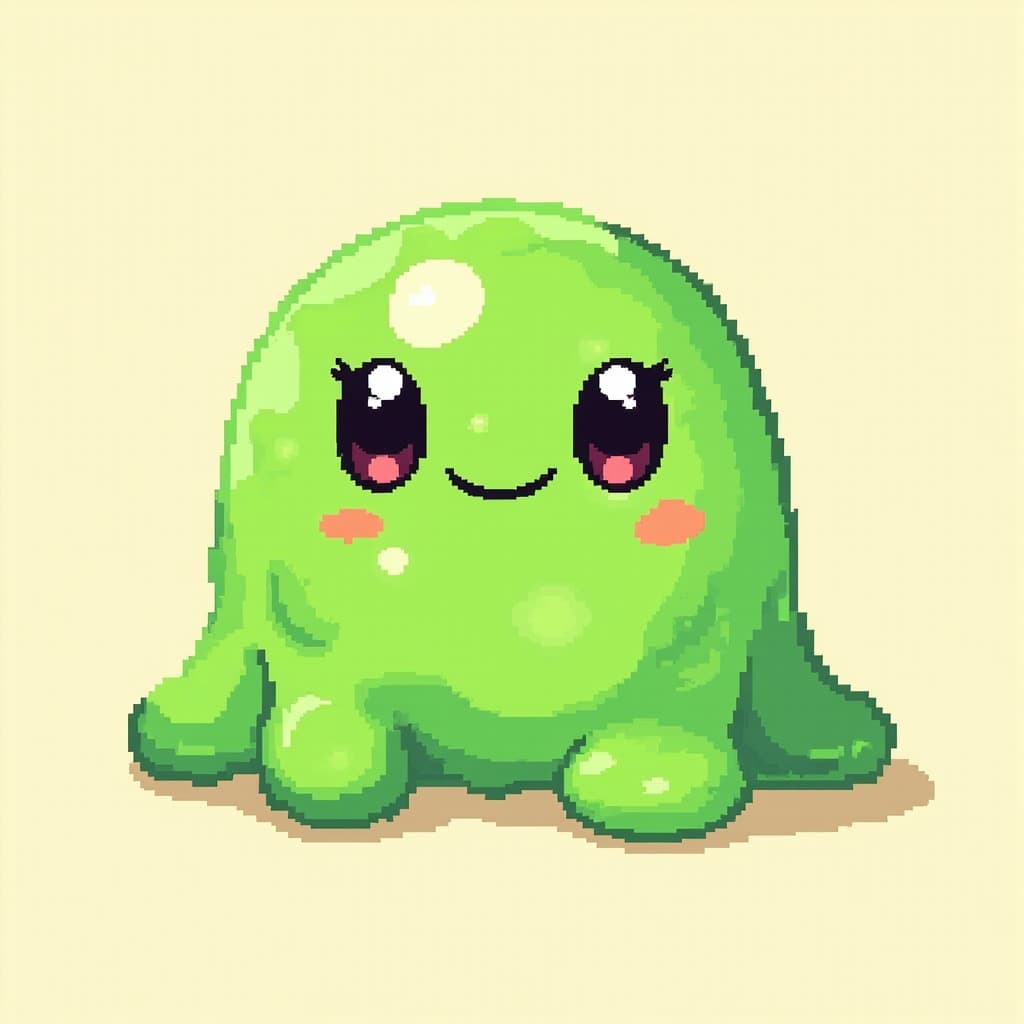
Selected raw AI output of a green slime enemy

Exact prompt

Cute green slime monster with big eyes, front view

What we found

The large outline and limited shapes survive downscaling better. This is the strongest of these three samples for a small enemy sprite.

Next check

Export at 64px, check the eye and mouth pixels, and remove any halo left by the automatic background pass.

Download raw sample →
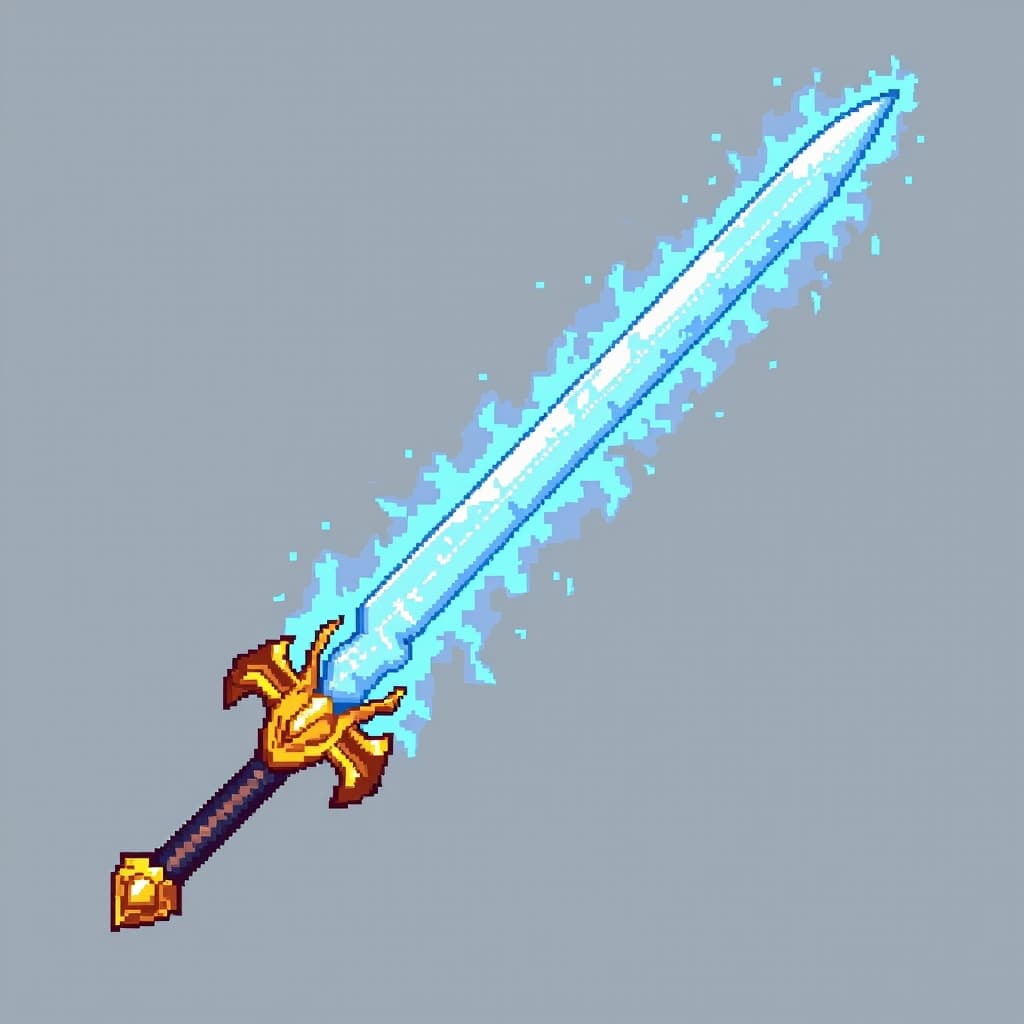
Selected raw AI output of a glowing blue sword icon

Exact prompt

Magic sword with glowing blue blade and golden hilt, weapon icon

What we found

The item remains recognizable, but the glow touches many background-colored pixels. Automatic transparency needs a manual edge check here.

Next check

Preview against both light and dark checkerboards before adding the icon to an inventory UI.

Download raw sample →

A practical pre-import checklist

  1. 1. Judge the final size. A detailed 1024px source can collapse into noise at 32px. Export at the size used in the game, zoom to 100%, and check the silhouette, face, hands, weapon, and contact point with the floor.
  2. 2. Test alpha twice. View the PNG over light and dark backgrounds. A pale halo may be invisible on white but obvious in a night scene. The lab reports whether alpha exists; your eyes still need to check edge quality.
  3. 3. Verify the grid mathematically. Sheet width must divide evenly by columns, and height by rows. A 256 × 64 strip with four columns gives four 64 × 64 frames. Do not guess cell dimensions in the engine importer.
  4. 4. Check every frame in order. Look for duplicated frames, pose jumps, changing accessories, and sliding feet. A four-frame loop can work for a prototype even when it is not polished enough for final art.
  5. 5. Use engine-specific layout rules. Unity and Godot can slice regular grids directly. RPG Maker expects a different 3 × 4 character layout, so a generated 2 × 2 or 4 × 1 sheet must be rearranged before import.

Choose the workflow you actually need